

Olin > Blog > How to install security cameras step by step
How to install security cameras step by step

Learn how to install security cameras at home: planning, mounting, connection, setup and maintenance for a safer, better-protected property
Installing security cameras at home is no longer something reserved for businesses or large detached properties. Today, almost any home can have a reliable video surveillance system that can be accessed from a mobile phone and is relatively simple to set up. In this guide, we’ll look at how to install security cameras step by step, with a practical and realistic approach, without empty phrases and focusing on what really matters so the system works properly.
Security camera installation does not start with a drill. It starts with the decisions you make beforehand. Choosing the wrong location, overlooking the network or ignoring the regulations can make the system less useful or even cause problems.
Before you start: planning and regulations
Before getting into home security camera installation, it is worth taking a moment to think about what you want to monitor, where you will view it from and what legal limits apply. This step saves time, money and hassle later on.
Types of security cameras
There are wired cameras, WiFi cameras, models with NVR recorders, cameras that store footage in the cloud and others that save video to a local card. The different types deserve an article of their own, but it is important to be clear that installing video surveillance cameras at home is not the same in a small flat as it is in a property with a garden or garage. Indoors, WiFi cameras are often enough, while outdoors, stability and weather protection are essential.
Materials needed for the installation
For a domestic security camera installation, you need more than just the camera. You will need a stable internet connection, nearby sockets or power points, a mounting bracket, screws and plugs suited to the type of wall, and good WiFi coverage.
In larger homes or properties with several floors, a poorly designed network can cause image dropouts or delays when accessing the cameras from your mobile. In these cases, it is worth checking wireless coverage or using more advanced solutions such as WiFi mesh systems.
Where to place security cameras
Location is everything. A poorly positioned camera records very little, or records it badly. Indoors, the usual approach is to cover access points such as doors or passage areas, while avoiding pointing cameras directly at windows, as backlighting can reduce detail. Outdoors, the camera should be high enough to prevent tampering, but not so high that facial recognition is lost.
It is also important never to record public areas or neighbouring homes, which links directly to security camera regulations. In Spain, domestic video surveillance is allowed as long as the cameras are limited to your own property. Pavements, streets and neighbouring homes must not be recorded.
Security camera installation step by step
Once everything has been planned, it is time for the actual security camera installation. This is where following a logical order helps avoid having to repeat work.
Step 1: Physical mounting
Physical mounting starts by marking the exact position. It is a good idea to hold the camera in place before drilling, check the viewing angle and make sure there are no obstacles. On exterior walls, use plugs and screws suited to the material, whether that is concrete, brick or an insulated façade. A badly fixed camera will vibrate in the wind and produce unusable images.
Indoors, many cameras can be mounted on the ceiling or wall. Placing them in corners usually gives better coverage and reduces blind spots.
Step 2: Electrical and data connection
This is where many problems appear. Cameras need a constant power supply. Some work with batteries, but these need regular charging. Wired cameras offer greater stability, while WiFi cameras depend entirely on the quality of the network.
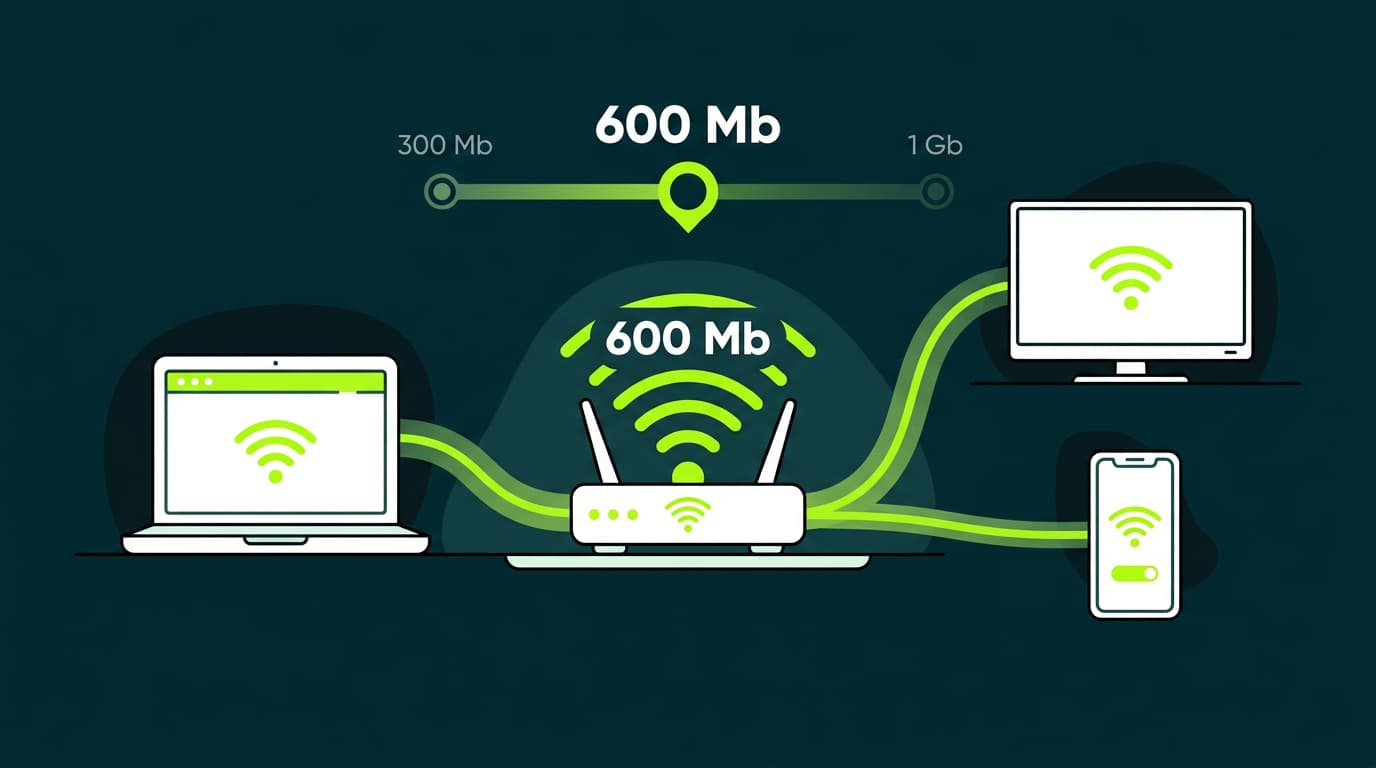
If the signal is weak, the image cuts out or takes too long to load. In large homes or second homes with thick walls, network boosters are often needed. A good high-speed broadband connection is key for accessing cameras remotely without excessive latency, especially when viewing in high definition.
Step 3: System setup
Once the camera is switched on, it is time to configure it through the manufacturer’s app. This is where you set the WiFi network, access credentials and recording options. It is essential to change the default passwords and activate two-step verification where available.
It is also worth adjusting the motion detector sensitivity. If it is set too high, you may receive constant false alarms. If it is too low, real intrusions may not be detected. The right balance depends heavily on the surroundings and usually needs some testing.
Step 4: Final testing and adjustment
Before considering the home security camera installation complete, test the system during the day and at night. Check the image quality, the sound if the camera supports it, and remote access from outside the home using mobile data. This last point is essential to confirm that the system works when you are not connected to your home WiFi.
Outdoor security camera installation
Outdoor security camera installation requires extra care. It is not enough for the camera to have a clear view; it also needs to withstand sun, humidity, wind and temperature changes.
It is important to choose cameras with a suitable IP rating, at least IP65, and to protect the cabling where present. Night vision also needs to cover the real distance you want to monitor. A camera with powerful infrared is of little use if it points at too wide an area without enough detail..
Storage setup and remote access
One of the key points when installing cameras at home is deciding where recordings will be stored. Some cameras store footage in the cloud, others on microSD cards, and others on local recorders. Cloud storage offers access from anywhere, but it depends on a good connection and, in many cases, a monthly subscription.
Remote access means video leaves your home network and travels over the internet. For this to work smoothly, your upload speed is just as important as your download speed. A symmetric broadband connection makes a real difference when you review recordings remotely or view several cameras at the same time.


Very Satisfied
The service is excellent, and we always pay the same amount. We’ve been customers for three years. The staff at the store are very professional and serve us in three different languages!