

Olin > Blog > How to Install an Alarm: Step-by-Step Guide
How to Install an Alarm: Step-by-Step Guide
Learn how to install a home alarm step by step. A complete guide with tips, tools, and mistakes to avoid so you can protect your home easily.
In a world where home security is becoming an increasing priority, installing a home alarm has become a smart and necessary decision. It’s no longer just about protecting valuables—it’s about safeguarding what matters most: your peace of mind and your family’s safety.
Why Install a Home Alarm?
The Costa del Sol, like many other areas of the country, despite its calm surroundings, is not immune to risks such as burglaries, attempted break-ins, or domestic accidents that can be prevented with a good security system.
Benefits of Having a Security System
According to a study conducted by researchers at the University of North Carolina, having a visible alarm system can reduce the likelihood of burglary by up to 60%, as many intruders avoid homes with installed security systems. In addition, many systems allow remote monitoring, mobile alerts, and direct connection to monitoring centers, which greatly increases their effectiveness. You can also integrate your system with cameras or smoke sensors, adding extra layers of protection against fires or gas leaks.
Types of Threats You Can Prevent
Installing an alarm doesn’t just protect against theft. Many modern kits include motion sensors, door and window opening detectors, and even fire detectors. In fact, if you’re wondering how to install a fire alarm, you’ll see that heat or smoke sensors work very similarly to anti-burglary sensors and are often integrated into a single system. This allows you to respond immediately in case of fire or smoke—especially important if you have children or elderly people at home.
What You Need Before You Start
Once you’ve received your alarm system, you’ll need a few basic things before installing it:
Basic Tools
Before you begin installing an alarm, make sure you have some common tools on hand: screwdrivers, a drill (if the sensors are not self-adhesive), a level, a pencil, and possibly a measuring tape. In addition, if the system is wired, you’ll need elements to guide cables without damaging your home’s appearance. Otherwise, many wireless kits connect via WiFi, greatly simplifying the process.
Alarm Kit Components
A basic kit usually includes a central control panel, motion sensors, door and window opening detectors, and a siren. Some also include remote controls or RFID key fobs.
If you’re evaluating the cost of installing a home alarm, you should consider both the price of the equipment and any possible monthly fees if you contract a monitoring center. If you opt for a standalone system, the cost is reduced to an initial investment only.
Floor Plan and Critical Points
Study your home’s layout and identify the most vulnerable points: back doors, accessible windows, terraces, or dark areas. Sensors should cover these access points without obstructions or moving objects like curtains or plants that could trigger false alarms.
Want to know more?
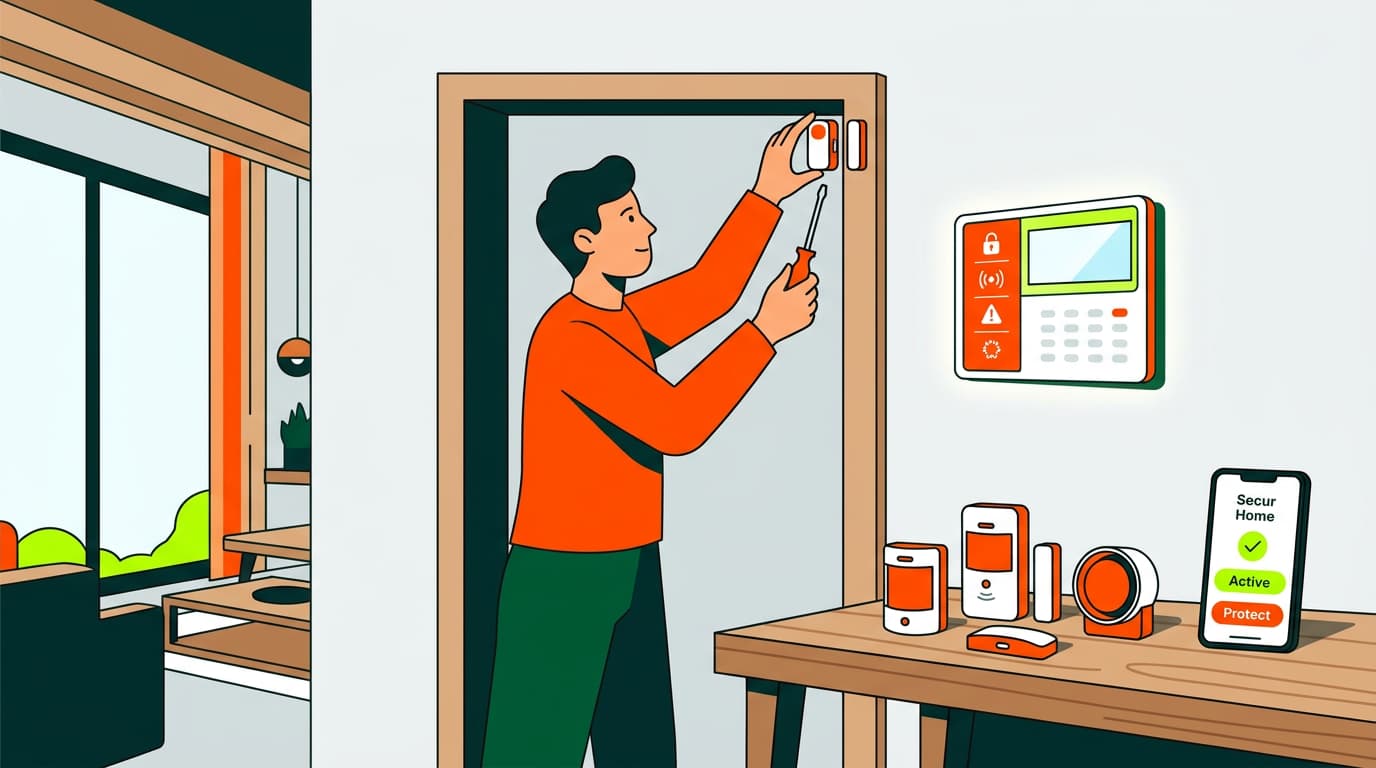
How to Install an Alarm Step by Step
Let’s go through how to install an alarm step by step:
Step 1 – Choose Key Locations
Place sensors strategically. The main entrance is essential, but don’t forget secondary areas such as balconies, storage rooms, or garages. Remember that motion detectors have a limited angle (usually 90 to 120 degrees) and an average range of 8–10 meters.
Step 2 – Install Sensors and Detectors
Once locations are decided, install the sensors. If they’re adhesive, clean the surface well to ensure proper adhesion. If they’re screw-mounted, make sure they’re firmly and evenly installed. Some sensors allow sensitivity adjustments—use them wisely to avoid false alarms.
Step 3 – Install the Central Control Panel
This is the “brain” of the system. Place it near the main entrance, at a comfortable height for daily use. Avoid hiding it or placing it far from the router if it works via WiFi. The panel is also key for receiving notifications, disarming the alarm, or making adjustments.
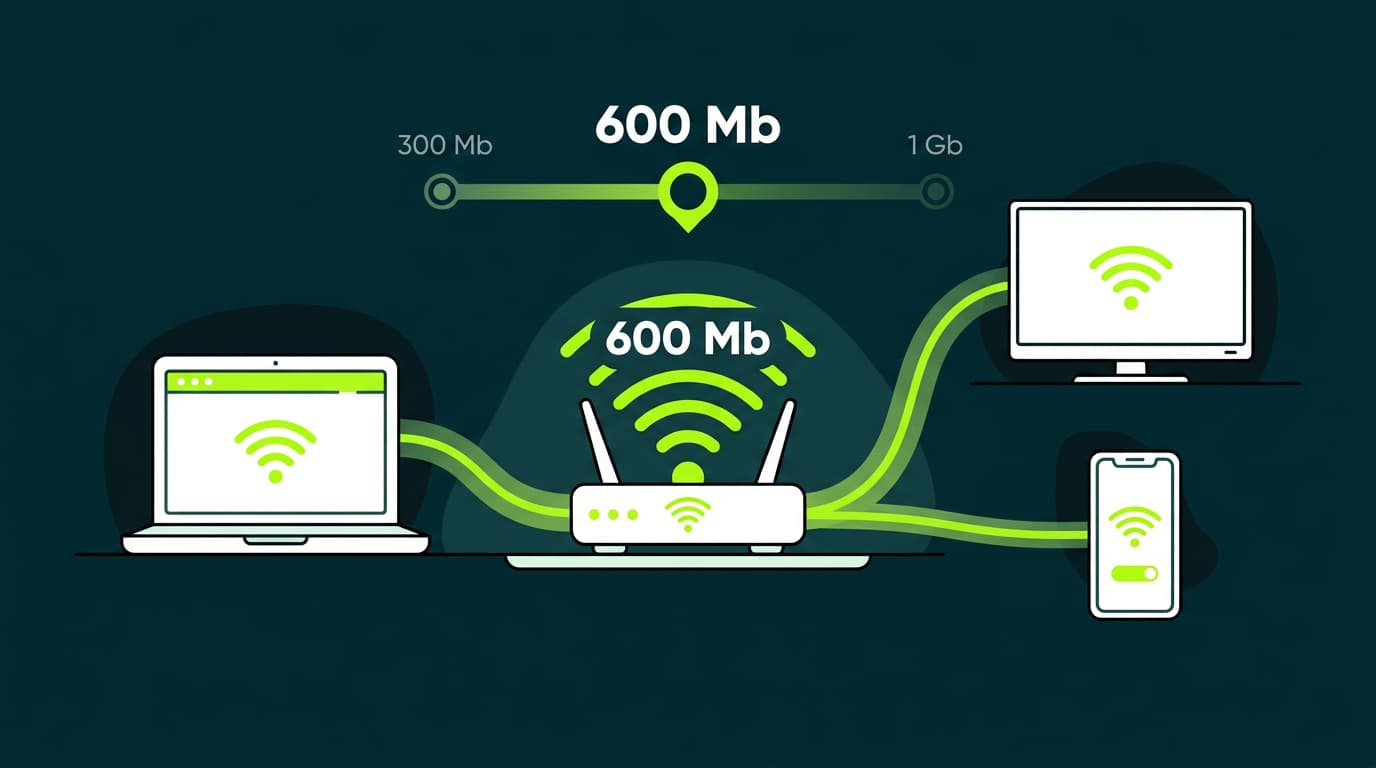
Step 4 – Connect the Alarm (Wired or via WiFi)
This is where technology has made the process much easier. Most modern systems are wireless, allowing you to connect them to your home network in just a few minutes. You simply need to follow the instructions in the corresponding app. For wired alarms, professional help may be required, especially to conceal cables and avoid damaging existing installations.
Step 5 – System Configuration
Set up detection zones, sensitivity levels, authorized users, and access codes. Change the system’s default passwords—this is vital to prevent external vulnerabilities. Many systems can integrate with Alexa or Google Home, allowing you to control the alarm by voice.
Step 6 – Functionality Testing
Before considering the installation complete, run several tests. Open and close doors, walk in front of sensors, trigger an alarm, and check that the siren works and notifications are received. Make sure the system is fully operational before relying on it.
Recommendations and Common Mistakes When Installing an Alarm
Even if you follow all the steps carefully, there are common mistakes people make when installing a security system. Pay attention to avoid them.
Where Not to Place Sensors
Avoid areas with drafts, heat sources, pets, or moving curtains. It’s also a common mistake to install motion sensors facing sunny windows, as changes in light can cause false triggers.
Check for System Updates
Keeping the system firmware up to date is essential. Updates fix bugs and patch potential vulnerabilities. Periodically check whether the manufacturer has released new versions and apply them as soon as possible.
Don’t Forget to Change Default Passwords
Many people install their alarm and leave the default PIN (like 1234)—a serious mistake. Change all access credentials from day one, including user codes, panel passwords, and app access.
Advantages of Installing an Olin Protect Alarm at Home
Olin Protect offers a solution designed for easy installation and personalized support. Its service is tailored to primary residences, second homes, or holiday apartments. You can rely on its performance thanks to a proprietary network and local technical support. In addition, by integrating broadband, mobile, and TV services, you can manage everything from a single platform. If you’re looking for a modern, connected, and easy-to-use alarm, this option is for you.


Very Satisfied
The service is excellent, and we always pay the same amount. We’ve been customers for three years. The staff at the store are very professional and serve us in three different languages!